Reading tones and target ID numbers
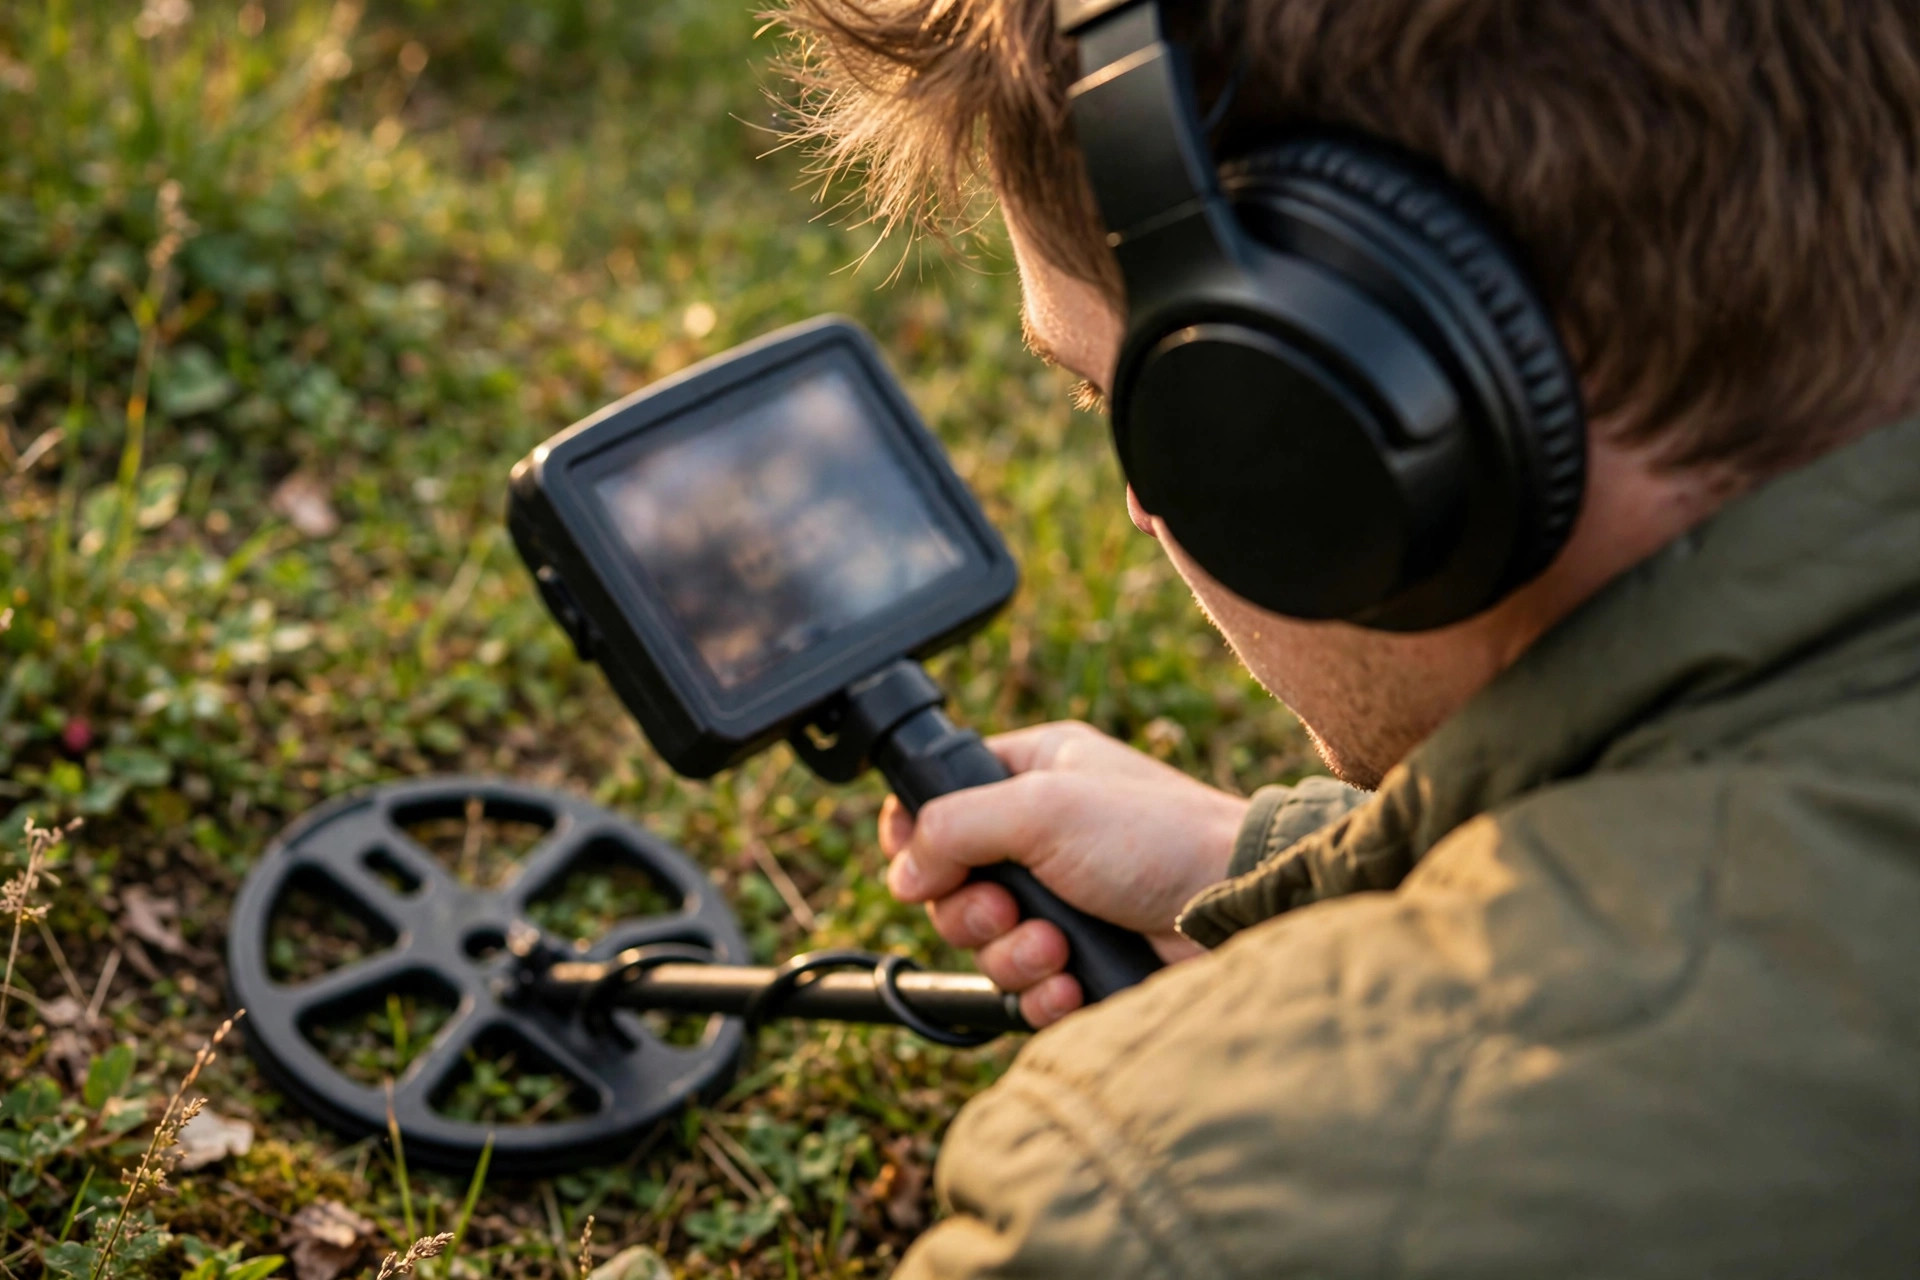
Every detector talks to you in up to three ways at once: a tone in your headphones, a number on the screen, and a depth estimate. Beginners usually pick one — most often the number — and treat it as a verdict: this number means a coin, that number means trash. That is the single most expensive habit in the hobby, because the number is the least reliable of the three on its own. Read together, though, the three readouts form a genuinely useful picture. This guide explains what each one can and cannot tell you, why the same coin produces different numbers on different machines and different days, and a short pre-dig routine that turns three shaky clues into one decent decision.
What the tones are telling you
Tone is the readout you get on every swing, without looking down, and it is the one experienced hunters trust most. On most machines the pattern is broadly similar. A low, growling tone usually means ferrous metal — iron, nails, steel. A mid tone is the crowded middle: foil and pull tabs live there, but so do US nickels, thin jewelry, and gold. A high, crisp tone usually means a strong conductor such as copper, brass, or silver — the family most coins belong to. Garrett's own guide to reading a detector lays out the same three bands, and the Bounty Hunter 3300 manual splits it into four tones with the same logic: a bass tone for ferrous objects, a low tone for pull tabs and nickels, a medium tone for modern zinc pennies and larger gold, and a high tone for silver and copper coins.
Two details in that Bounty Hunter manual deserve attention. The smallest gold can produce the bass — the "iron" — tone, and its four-tone system works only in the motion search modes; switch to pinpoint mode and the machine drops to a single monotone. In other words, the tone map changes with the mode you are in. The manual also gives the honest reason audio ID exists at all: in the field, you are not always watching the screen. Your ears are the primary instrument; the display is a cross-check.
As important as pitch is consistency. A clear, steady tone repeated swing after swing usually means one solid target. A broken, choppy, or scratchy signal usually means trash, several objects layered together, or a target at an awkward angle. When the number says "good" but the audio sounds torn up, believe the audio.
Target ID numbers: useful ranges, real limits
The number — often called target ID or VDI — is the machine's estimate of the target's conductivity, usually shown on a 0–99 scale. As a rough orientation on a typical 0–99 machine, the published charts cluster like this:
| Range (0–99 scale) | Typical targets | Watch out for |
|---|---|---|
| 0–20 | Iron, nails, steel | Smallest gold can read down here on some systems |
| 20–40 | Foil, pull tabs, small aluminum | Small gold jewelry reads here too |
| 40–50 | US nickels, some costume jewelry | Modern pull tabs crowd this band |
| 50–70 | Zinc and copper pennies | Deeper coins of all kinds drift down into it |
| 70–90 | Silver dimes and quarters, copper | Large iron can fake its way up here |
| 85–99 | Large copper and silver items | Buried cans and big junk live here as well |
That table is a starting orientation, not a promise — and the proof is in how wildly the authorities disagree once you compare actual systems. Minelab's Manticore manual uses a US quarter as its worked example and gives it a target ID of 88. A dealer glossary's example table from a different system puts a US quarter at 44, a ring pull at 12, a wedding ring at 8, and screws and paper clips at −4 — negative numbers, because that scale runs below zero for ferrous targets. Both are correct, on their own machines. Garrett states the rule plainly: target ID numbers are not standardized across manufacturers, so the same coin reads differently on different brands. Any chart you find — including the one above — is a dialect, not a language. Learn your own machine's dialect.
Why the same coin reads differently
Even on one machine, a target's number is not a fixed property of the object. The number reflects conductivity and size together, not metal type alone, so a big piece of a low-grade metal can read like a small piece of a better one. Depth pushes readings down: a dealer discrimination guide gives the example of a surface penny reading 65 while the same penny at eight inches reads 58. Ground shifts them too — the same guide's example has a silver quarter reading 82 in a test garden but showing 75 or 88 at the beach, because mineralized soil and saltwater distort both tone and number. Shape plays a part as well: thin items like chains and small earrings read much lower than their metal suggests, while large iron can read deceptively high. Treating any single number as an identity is therefore a category error. The number is a measurement taken under conditions, and the conditions keep changing.
Third-party reports from long-time users underline the point. In a Findmall forum thread, several experienced Minelab Safari hunters say they hunt mainly by tone and check the ID numbers mostly out of curiosity, because the numbers bounce around and change as you dig (Findmall forum thread: findmall.com/threads/minelab-safari-tones-and-id-numbers.125851). The same thread shows the numbers shifting with place and mode: US users call a reading of 38 on that machine "money in the bank" — usually a dime or quarter — while beach hunters in Ireland report 37–38 as mostly aluminium or old coins, with gold reading down in the teens. Same machine, same numbers, different ground truth.
The gold problem: the mid range is not the trash range
Here is the consequence that matters most for a beginner. Gold is a middling conductor, and gold jewelry is usually small. So gold reads exactly where the trash reads: the low-to-mid bands shared with foil and pull tabs — and, on some tone systems, the smallest gold drops into the bass tone altogether. A beginner who follows a chart and skips everything in the foil and pull-tab ranges has built a very efficient gold-avoidance system. This is why discrimination should stay low while you are learning, why the mid tones deserve digging on any site where jewelry is plausible — beaches, sports fields, picnic areas — and why "when in doubt, dig" is not laziness but sound method. You can only learn what the mid range holds on your sites by digging a sample of it.
A pre-dig routine: the two-direction stability check
So how do you decide? Use all three readouts, in order, with one added test — stability. Work through it as a numbered routine until it becomes habit:
- Listen first. Note the tone band and, more importantly, its quality: clean and repeatable, or broken and scratchy?
- Sweep from two directions. Turn ninety degrees and sweep the target again. Good targets tend to hold a similar tone and number from both directions; trash tends to change its reading dramatically between angles.
- Check the number's stability, not its value. A number that settles within a few points across repeated sweeps is information. A number that jumps twenty points swing to swing is the machine telling you it cannot resolve the target — often layered trash or iron nearby.
- Note the depth. Most gauges step in roughly two-inch increments, and depth explains drift: a deep target reading a little lower than its shallow chart value is normal, not suspicious.
- Decide by the combination. Clean tone + stable number + a plausible depth: dig with confidence. Broken tone + wandering number: usually trash — but on a jewelry-plausible site, or while you are still learning your machine, dig it anyway and file the result in memory. Every dug target is a lesson that calibrates the next decision.
That last step hides the real long game: your own logbook. Minelab's manual suggests recording the target IDs of the objects you actually find, so that over time you build your own discrimination pattern from your ground truth. A season of "dug a jumpy 52, it was a bottle cap; dug a steady 47, it was a nickel" teaches your machine's dialect faster than any published chart — because it is a chart of your machine, your soil, and your sites.
What success looks like
Success here is not a machine that names every target — no machine does that. It looks like this: you stop quoting numbers as identities ("that's a 65, it's a penny") and start describing signals ("clean high tone, stable from both directions, about six inches — worth digging"). Your trash ratio drops because you are skipping signals for articulated reasons — instability, torn audio — instead of skipping whole number ranges. And your good finds stop leaking away through the mid range, because you dig the steady mid tones where jewelry is plausible. The detector gives you three clues and your judgement makes the call; this routine is how the judgement gets trained.
FAQ
Can I use a target ID chart from the internet for my machine? Only as a rough orientation. Numbers are not standardized between brands or even between models, and they shift with depth, soil, and target size. Use a chart for your first hunts, then replace it with your own notes from targets you have dug.
Why does the number change as I dig? Because digging changes the measurement conditions: soil comes off the target, its orientation changes, and nearby iron that was skewing the reading is disturbed. Experienced users report the same behaviour, which is one reason they lean on tone.
Should I dig every mid-tone signal? While learning, and on any site where jewelry is plausible, mostly yes — gold shares that range with foil and pull tabs. As your logbook grows you will learn which mid-tone signals on your sites are stable enough to chase and which are repeat offenders.
Does a more expensive detector fix all this? It adds information — finer scales, separate ferrous and non-ferrous readings on some high-end systems — but it does not repeal the physics: depth, soil, size, and shape still move the reading. The routine above works on any tier of machine.